Posted in Punch needling

Embroidery hoop ‘Mama’ – Free pattern

*Nederlands zie hieronder

Already a few weeks ago it was Mothersday. Every year I start to think about this in the week before and I try to think about creative stuff to give away.
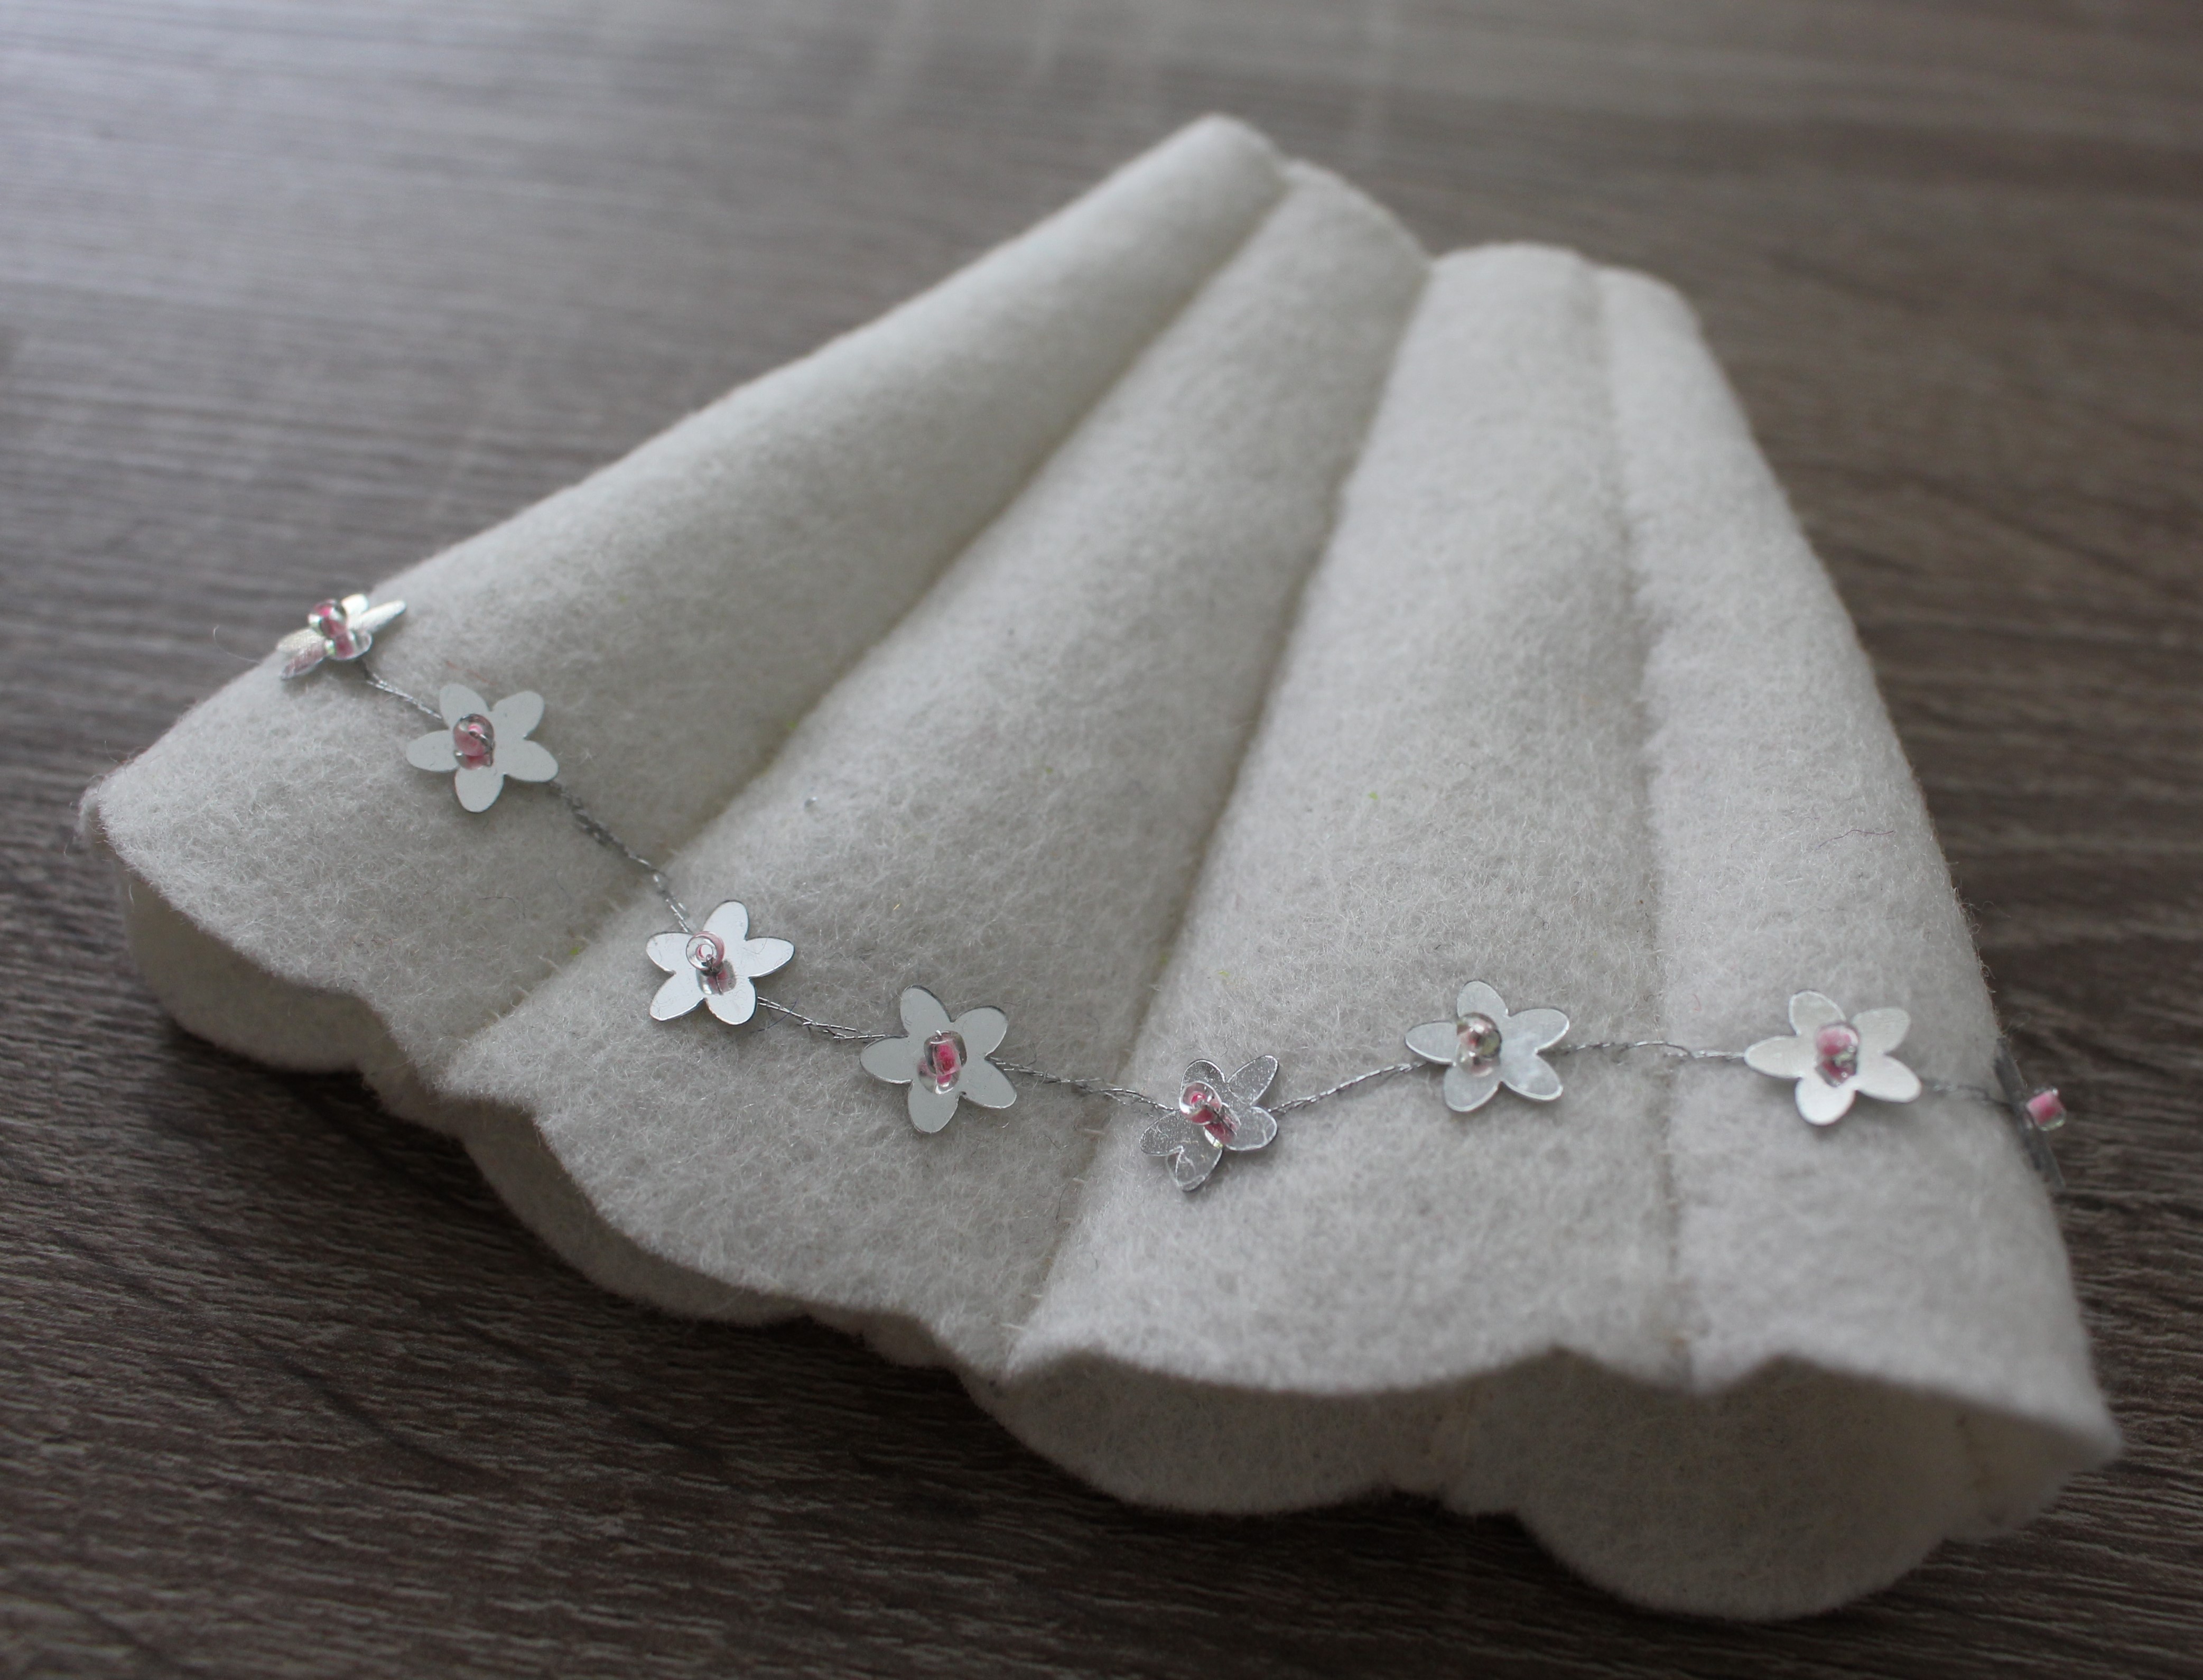
This year I actually designed a pattern for an embroidery hoop in ProCreate on the I-pad. Brilliant program by the way, but to make the actual pattern in embroidery was still a lot of work. Especially because I have never done actual embroidery. I was inspired by @matryoshkadollshop at Instagram. She makes these ‘small’. embroidered hoops and it looked like something even I could do. Even though it takes time to make something like this, I bet you can do this as easily as I did. And the result is so nice.

Materials

  • Pattern (you can download it here below)
  • Linen fabric
  • An embroidery hoop 10cm (I bought this one)
  • Pencil
  • Needle
  • Embroidery thread in different colors

How to

  • Print the pattern
  • Get yourself the materials as described above
  • Draw the pattern on your linen fabric
  • Put the hoop around the fabric
  • Start embroidering

To be honest I just did something and I like the result, but if you want to be more professional, just watch some videos on Youtube. Like this one. Or maybe this one, which explains basic stitches. I also tried to do punch needling on the yellow flower, but wasn’t really happy with that, so didn’t do any further punch needling on this project. My tip for you: ‘Just don’t be afraid and start making something you like.’ Good luck!

And if you have any other questions, just let us know in the comments.

NEDERLANDS

Alweer een paar weken geleden was het Moederdag. Elk jaar begin ik veel te laat met het verzinnen van iets leuks (vaak wil ik iets creatiefs geven).
Dit jaar bedacht ik zowaar een patroon voor een borduurring in ProCreate op de I-pad. Briljant programma trouwens, maar om het design echt uit te werken kostte wel meer tijd dan ik had verwacht. Waarschijnlijk ook omdat ik helemaal nieuw was op het gebied van borduren. Ik was geïnspireerd door @matryoshkadollshop op Instagram. Zij maakt regelmatig van dit soort ‘kleine’ projectjes en ik had het idee dat ik zoiets ook wel kon maken. Ondanks dat het wel veel tijd in beslag neemt om zoiets te maken, daag ik je uit om het te gaan proberen. Het resultaat is ontzettend leuk.

Materialen

  • Patroon (je kan dit hierboven downloaden)
  • Linnen stof
  • Een borduurring (ik gebruikte deze)
  • Een pen/potlood
  • Naald
  • Borduurdraad in verschillende kleuren

Beschrijving

  • Print het patroon
  • Zorg dat je de materialen hebt zoals hierboven beschreven
  • Teken het patroon over op de stof
  • Doe de ring om de stof heen
  • Start met het borduren van het patroon

Om heel eerlijk te zijn, ik heb echt maar iets gedaan met het borduren. Ik heb hier helemaal geen ervaring in, maar ben alsnog trots op het resultaat. Als je het wat lastiger vind, kijk dan zeker eens deze voorbeeld video, of deze voor wat basissteken, op Youtube en klik lekker door naar andere video’s hierover. Ik heb trouwens ook nog geprobeerd de gele bloem te punchen, maar ik vond het resultaat niet heel succesvol. Mijn tip voor jou: Wees niet bang, maar probeer net als ik, iets uit. Het resultaat kan je verrassen. Succes!

Mocht je nog vragen hebben, schroom niet om ze te stellen in een berichtje hieronder.

Posts that might be of interest to you/ Posts waar je mogelijk ook in geïnteresseerd bent:

Posted in Felt

My felt doll princess – Birthday present part 1

*Nederlands zie hieronder

This crafting project made my child fantasy come back to life. I always loved to craft and I was crazy about dolls, literally every kind you can imagine. Making my own doll with felt is merging the best of two worlds in my eyes. And guess what? You can even dress and undress her! She is made with the book ‘My Felt Doll’ from Shelly Down. Check out my other post about the little mermaid doll made with this book here. All pieces were made with the 1-1.2mm high quality wool felt from Meaningful Crafts, check out their webshop here (shipping worldwide).

As you can see in the pictures above, this is how she looked like when her body was finished. Every little piece is hand sewed, so you can imagine that this is not done within one evening;) I decided to go for a neutral happy face, so a lot of different outfits would fit her.

Then it was time to make her first outfit! I picked this sparkling princess dress and accessories to start with. Definitely not the easiest pick, because a lot of details had to be sewed. The skirt consists of different pieces that are first all sewn together. The lines, beads and flowers are embroidered at the end. The crown and slippers contain cardboard pieces in between the felt layers, to give it more rigidity. Finally, the shirt and the skirt both got a metal small button to be able to dress and undress the doll.

There she is! This little princess is ready to be played with:) Yesterday I gave her as a present to my niece, who recently turned 6 years old. The best part is that this was not all she got! In fact, this princess outfit was just the first one I made for her. In the next series of blog posts I will reveal all the other pieces I made for her. I can’t wait to show you! Are you also crafting a lot with felt? Leave a comment below!

Nederlands

Dit knutselproject heeft mijn kinderfantasie weer tot leven gewekt. Ik was altijd al gek op knutselen en op poppen, echt elke soort die je je kunt bedenken. Het kunnen maken van mijn eigen vilten pop brengt het beste van de twee werelden samen in mijn ogen. En raad eens? Je kunt haar zelfs aan- en uitkleden! Ze is gemaakt met het boek ‘My Felt Doll’ van Shelly Down. Bekijk hier mijn post over de vilten zeemeermin, welke ik ook met dit boek heb gemaakt. Alle onderdelen zijn gemaakt met de 1-1.2mm 100% wolvilt van Meaningful Crafts, check hun webshop hier (wereldwijde verzending).

Zoals je hierboven kunt zien is het best al wat werk om de pop zelf te maken. Echt elk onderdeel is met de hand genaaid, dus je kunt je voorstellen dat je dit niet in 1 avondje doet;) Ik heb gekozen voor een neutraal gezicht, zodat heel veel outfits hierbij zullen passen.

Toen was het tijd om haar eerste outfit te maken! Ik koos voor de prinsessenjruk met accessoires en mooie glitters. Zeker niet het makkelijkste om mee te beginnen, omdat er heel veel details op zitten. De jurk bestaat uit verschillende onderdelen die eerst aan elkaar genaaid moesten worden. Daarna heb ik met de hand de zilveren lijn, bloemen en kraaltjes geborduurd. Het kroontje en de slippers bevatten tussen de viltlaagjes een stukje karton, zodat ze beter hun vorm konden behouden. Het shirt en de rok hebben allebei een klein metalen drukknoopje gekregen, zodat je de pop makkelijk aan- en uit kunt kleden.

Hier is ze dan! Deze kleine prinses is klaar om mee gespeeld te worden:) Gisteren heb ik haar cadeau gegeven aan mijn nichtje, omdat ze recentelijk 6 geworden is. Het beste moet alleen nog komen, dit was niet alles wat ze gekregen had! De prinsessenjurk was de eerste outfit die ik voor de pop maakte, maar er is meer. In de volgende serie aan blogposts laat ik jullie alle onderdelen zien die ik voor mijn nichtje heb gemaakt. Ik kan niet wachten om het allemaal aan jullie te laten zien! Knutsel jij ook met vilt? We vinden het leuk als je hieronder een reactie achterlaat!

Posts that might be of interest to you/ Posts waar je mogelijk ook in geïnteresseerd bent:

Posted in Crochet

Crane socks – crochet pattern review

*Nederlands zie hieronder

My husband has severe asthma. He isn’t diagnosed with the disease for very long, but the last three years it became worse every year. We also got COVID in 2020. This didn’t do him any good. After all these months fighting and struggling against this disease the doctors decided he could do a rehabilitation in Davos, Switzerland.
I wanted to make him something he could use during this rehabilitation. I already promised I would give him socks for his birthday, last year..This was a great opportunity to fulfill my promise.

The pattern I used comes from the book from ‘A la Sascha’. You can find the book here. I also made another pattern from her book a little while ago, you can read that blog here.
But now it was time to make the biggest sock size there is written in this book (I wanted to say ever made in history, but that’s not true). European size 46. I never noticed how big that actually is, but now I know. King size. I let my husband decide which socks he wanted to have and he chose the crane socks. The biggest of course. The yarn I used, is Drops Nord Mix, color 09 Deep Ocean. My husband loves the sea, just like me, this way it could remind him of home.
I changed one thing on the pattern and that’s because I was running out of time, I made them about 20 rows shorter..But I can always add more rows when he comes back.

The patterns in this book are described very well and it’s such a lovely project to crochet socks. At this moment I still can’t knit properly, so it’s nice there is a possibility to crochet socks. Fun fact is that I’m actually doing an online knitting course for beginners! It’s from Mirjam Molenbeek and I hope to tell you about my progress soon.

By the way, what do you think of this view? Perfect right? Wish I was there too..

*NEDERLANDS

Mijn man heeft ernstig astma. Hij is nog niet heel lang met deze ziekte gediagnosticeerd, maar in de afgelopen drie jaar zijn er steeds meer klachten ontstaan en verergerd. Daarnaast kregen we COVID in 2020. Dit deed hem helemaal geen goed. Na maanden vechten tegen vermoeidheid en een structuur vinden met de ziekte astma, besloten de artsen dat hij een revalidatie mocht gaan doen in Davos, Zwitserland.
Ik wilde graag iets voor hem maken wat hij daar zou kunnen gebruiken. Ik had hem eigenlijk al sokken beloofd voor zijn verjaardag vorig jaar..Dit was een uitgelezen kans om mijn belofte waar te maken.

Het patroon wat ik gebruikte, komt uit het boek van ‘A la Sascha’. Je kan het boek hier vinden. Een tijdje terug heb ik ook een patroon uit dit boek gemaakt, je kan dit eventueel hier teruglezen.
Maar nu was het tijd om de grootste sokken uit het boek te maken (ik wilde zeggen de grootste sokken ooit te maken, maar dat is niet helemaal waar natuurlijk). Maat 46. Het is me eigenlijk nooit opgevallen hoe groot dat wel niet is, maar nu weet ik het. Gigantisch. Mijn man mocht kiezen welk patroon hij wilde en hij koos de kraanvogel sokken. De wol die ik hiervoor gebruikte, is Drops Nord Mix, color 09 Deep Ocean. Mijn man houdt, net als ik, van de zee en op deze manier kan hij nog een beetje aan thuis denken wanneer hij ze aanheeft.
Ik heb trouwens één aanpassing gedaan aan het patroon, ik heb ongeveer 20 rijen minder gemaakt, omdat ik niet genoeg tijd had om ze af te maken..Gelukkig kan ik altijd rijen toevoegen wanneer hij weer terug is.

De patronen uit dit boek zijn stuk voor stuk heel duidelijk beschreven en het is een heerlijk project om sokken te haken. Ik kan nog steeds niet echt goed breien, dus het is leuk om als alternatief sokken te kunnen haken. Leuk feitje is dat ik wel op de achtergrond bezig ben om het breien nu een beetje te leren. Ik volg een online breicursus bij Mirjam Molenbeek. Ik hoop hier binnenkort een keer wat over te posten.

Wat vinden jullie trouwens van het uitzicht? Prachtig toch. Zou ik ook wel heen willen op dit moment..

Posts that might be of interest to you/ Posts waar je mogelijk ook in geïnteresseerd bent:

Posted in Sewing

Be Smart Jumper – Sewing pattern review

*Nederlands zie hieronder

We’re back! Elseline and I took a short break to create some nice content for you again and I can already tell you that we definitely managed to do so! I want to kick-off with this skirt made with the Ellie and Mac pattern ‘ Be Smart Jumper’, which you can find on the website of Ellie and Mac via this link. I made the skirt for my friend, who is modelling the skirt in the pictures below. Doesn’t she look fabulous?! She did not want to have the straps attached to it, so it was even easier to make for me;)

It was the first time I sewed something with tricot fabric and it was easier than I expected! The waistband had to be stretched while sewing to create the folds, which I had never done before. Therefore I decided to use some scrap fabric to try different kind of ‘stretch’ stitches first. I learned that depending on the stitch you pick, you can create stronger or weaker folds. Definitely try this out first when using tricot fabric with a 4-way stretch. As you can see on the picture below, the pattern for the skirt is a perfect circle. Even my friend’s cat found it very interesting;) I choose to make the high waist version of the skirt, but when my friend put it on I realized that due to the stretch effect I could have chosen one size smaller for her. It became a low waist skirt, but it was definitely fitting her anyway. I’m very curious to see the version of this skirt with the straps, so the remake will come soon:)

*NEDERLANDS

We zijn terug! Elseline en ik hebben een korte pauze genomen om wat leuke content voor jullie te creeëren en ik kan nu al zeggen dat dat aardig gelukt is! Ik wil jullie als eerste dit rokje laten zien welke ik genaaid heb met het naaipatroon ‘Be Smart Jumper’ van Ellie and Mac, welke je op hun website kunt vinden via deze link (EN). Ik heb het rokje gemaakt voor mijn vriendin, wie je hierboven in de fotoreeks ziet. Ziet ze er niet fantastisch uit?! Ze wilde het rokje zonder bretels hebben, dus ze had het me nog makkelijker gemaakt ook;)

Het was de eerste keer dat ik iets met tricot stof had genaaid en het was wel makkelijker dan ik dacht! De tailleband moest wel uitgerekt worden tijdens het naaien om de plooien te vormen. Dit had ik nog nooit eerder gedaan, dus ik heb eerst verschillende steken uitgeprobeerd op restjes tricot stof om de juiste steek te kunnen kiezen. Afhankelijk van de steek krijg je grotere of kleinere plooien, dus ik raad zeker aan dit te doen wanneer je met tricot (4-richting rek) stof werkt. Zoals je in de foto hierboven ziet, is de rok een perfecte cirkel. Zelfs de kat van mijn vriendin vond de rok interessant;) Ik koos ervoor om de hoge taille rok te maken, maar toen mijn vriendin de rok paste zag ik dat het eigenlijk een lage rok was geworden. De volgende keer moet ik dus een maatje kleiner maken, wat dus prima kan met rekstof. Het staat haar gelukkig alsnog goed! Ik ben wel nieuwsgierig geworden naar de versie van de rok met bretels eraan, dus die komt er binnenkort ook nog aan:)

Our posts may contain affiliate links. Go to our ‘About’ page for more information.

Posts that might be of interest to you/ Posts waar je mogelijk ook in geïnteresseerd bent: